
Table of Contents
Commissioning
when the charger is mounted (on wall or freestanding set) , properly connected, we can continue with the commissioning.
Strictly follow Safety instructions!
 Once RDC Charger is configured, it does not require further connection to internet or configurator for normal operation !
Configuration
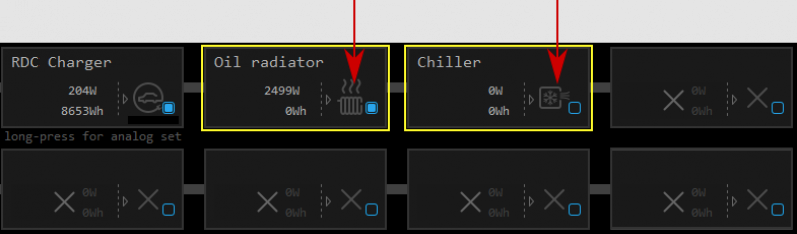
Install and run RDC Charger on your PC. Use autodetect button to discover EVSE in local network. Enter names, choose icons for all sources and consumers.
Setting device management features
For each consumer we can set:
- sub: mark device as a submeter if device is not part of internal network and/or is not connected as intended by default. Energy division for this device will be ignored.
- man. time: the time is in minutes for the manual override. It serves to ensure that the user can ensure a minimum validity of the manual switchover.
- P nominal: nominal power in watts used for consumers without power sensor. It ensures energy consumption calculation while in active mode.
- timetable checkbox: enable or disable the timetable for each device.

Enable power sensor from compatible systems
HEMS will automatically detect compatible
- battery systems eStore and
- home automation systems HIQ Home
which are in the same local network.
Only the first system is detected, if there is more than one it is necessary to enter the NAD number of the desired system manually.
if eStore is enabled, HEMS will read:
- grid power-sensor
- power-sensor for the first PV Plant and
- power-sensor of the first storage system
From the enabled HIQ Home system, HEMS will automatically read the grid power-sensor.
Internet access
RDC Charger is connected to the internet via IOT-L2-2 linker.
Digital output
RDC Charger is supporting up to 8 digital outputs by WR-1 module (WR 1..WR 8).
- HEMS Configurator → settings page, define digital output for consumer (e.g. Digital-2 & Digital-3),

- HEMS Configurator → home page, toggle ON/OFF states for digital-2 and digital-3.
Note: Nominal power P nominal is suitable for consumer(s) without connected power sensor. It is used for consumed energy calculation during active mode.
IO mux
HEMS Configurator → IO mux page allows setting of output types for WR-1 module(s):
- WR 1 → to Router reset, when conditions for router reset are met, WR 1 module will change relay state (turns ON/OFF router wired to WR module),
- or when WR 5 → Digital-2, it means that change of digital2 (consumer 2) reflects on WR 5 relay state.

Permanent memory
HEMS Configurator → settings page → save paramenters
After parameters modification, it is necessary to save changes to the permanent memory since at startup RDC Charger always reads parameters from the permanent memory.

Backup / restore to PC
HEMS Configurator allows you to backup and restores all parameters to PC.
Phase alignment and limiter settings
Under limiter page set correct phase order to align phases of each device. Set correct main fuse limit [A] to protect the main grid fuse from over current. Check devices that can be managed by limiter and set correct limiter priority. Choose from no limiter, limit last, limit second, limit first. Max expected device current consumption is dynamically calculated and does not need to be set. In case device is an EV charging station, manually set max current for this device.